Drawing blood is a crucial skill for healthcare professionals, especially for phlebotomists. It requires precision and attention to detail to ensure accurate test results and patient safety. In this guide, we will provide a step-by-step process for drawing blood and some clinical considerations to ensure success.
Blood Draw Step-By-Step-Guide
Step 1: Prepare for the Procedure
Before beginning, ensure you have all the necessary materials, including a sterile needle and syringe, tourniquet, alcohol swabs, gloves, and a biohazard container. Confirm the patient's identity, explain the procedure, and obtain informed consent.
Step 2: Position the Patient
Position the patient comfortably with the arm extended and secured with a tourniquet approximately three to four inches above the intended puncture site. The puncture site is typically the antecubital fossa, which is the bend of the elbow.

Step 3: Cleanse the Site
Cleanse the puncture site with an alcohol swab, ensuring that the area is dry before proceeding.

Step 4: Locate the Vein
Locate the vein by palpating the puncture site with your fingers. The vein should feel bouncy and roll under the skin. Use your other hand to anchor the vein, pulling the skin taut around the puncture site.

Step 5: Insert the Needle
Insert the needle bevel-side up at a 15-30 degree angle into the vein with a smooth, confident motion. Keep the needle steady and advance it slowly into the vein until you observe a flash of blood in the hub of the needle.

Step 6: Collect the Sample
Remove the tourniquet and use a syringe or a vacuum tube to collect the desired amount of blood. Be sure to gently invert the tube several times to ensure adequate mixing of the anticoagulant.

Step 7: Remove the Needle and Apply Pressure
Remove the needle quickly and apply pressure to the puncture site with a sterile gauze pad until the bleeding has stopped.
Step 8: Dispose of Materials and Label the Sample
Dispose of all materials in the biohazard container and label the sample with the patient's name, date, and time of collection.
Clinical Considerations:
1. Patient Safety: Always consider patient safety during the procedure, including confirming the patient's identity, verifying their medical history, and avoiding contamination of the sample.
2. Infection Control: Always maintain strict infection control practices by wearing gloves, cleansing the puncture site thoroughly, and disposing of all materials in the biohazard container.
3. Needle Size: Ensure that the needle size is appropriate for the patient's age, size, and the intended use of the blood sample.
4. Vein Selection: If the intended vein is not suitable for puncture, try other sites, such as the back of the hand or center of the elbow (median cubital vein).
Drawing blood is a skill that takes time and practice to master. Following these step-by-step instructions and clinical considerations, you can increase your chances of success and improve patient care.
FAQs
1. How do you find the vein to draw blood?
There are two main ways to find a vein to draw a blood sample. It can be done by palpating blood vessels or by transillumination with a special light. Generally, palpation is used more widely, especially without other help.
2. How do you draw blood easily?
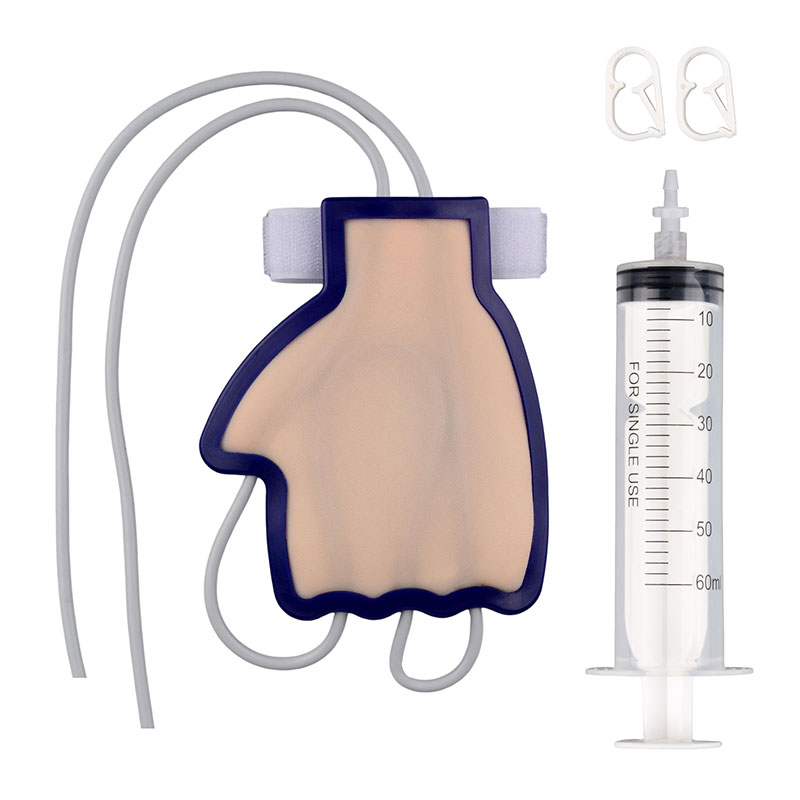
There is no easy way to draw blood. However, it does become easier with practice. Practice with the help of a real person or better with realistic venipuncture and blood draw practice kits.
3. How to get realistic blood draw practice?
There are lots of practice models for students and medical professionals, including a variety of realistic simulation pads or models. You can practice blood drawing on the lifelike head, arm, leg, hand, etc body parts.
Ultrassist Phlebotomy Practice Kits will help you practice how to draw blood with the 3 prominent veins, the median cubital, the cephalic, and the basilic veins. Hone the phlebotomy technique more effectively.
Related Articles:


.jpg?w=1600&h=1600)
.jpg?w=1600&h=1600)

.jpeg?w=1500&h=1500)
.jpg?w=1500&h=1500)
.jpg?w=1500&h=1500)
.jpg?w=1600&h=1600)
.jpg?w=1600&h=1600)


.jpeg?w=800&h=800)
.jpeg?w=1500&h=1500)
.jpg?w=1600&h=1600)
.jpg?w=1600&h=1600)
.jpeg?w=1500&h=1500)
.jpeg?w=1500&h=1500)


.jpeg?w=1600&h=1600)
.jpeg?w=1600&h=1600)