Performing a subcutaneous injection correctly is a critical skill for both healthcare professionals and patients who manage their own medications. Here's a detailed step-by-step guide to ensure proper technique.
Step-by-Step Procedure
Step 1: Preparation
Start by thoroughly washing your hands with soap and water or using an alcohol-based hand sanitizer. Gather all necessary supplies, including a sterile syringe and needle, medication, and alcohol swabs.
Step 2: Site Selection
Common sites for subcutaneous injections include the abdomen, thighs, and upper arms. It's important to select a site with adequate subcutaneous fat. For example, the abdomen is often preferred for its accessibility and ease of use.
Step 3: Actual Injection Process
After cleaning the injection site with an alcohol swab, pinch the skin around the chosen area to create a fold. Insert the needle at a 45-degree angle for most patients or at a 90-degree angle for those with more subcutaneous fat. Inject the medication slowly and steadily while ensuring the needle remains in place.
Step 4: Post-Injection Care
After the injection, withdraw the needle quickly and apply gentle pressure to the site with a clean cotton ball or gauze pad. Dispose of the needle in a sharps container immediately.
Injection Techniques
The angle and depth of your injection are critical for ensuring effective medication delivery. Typically, a 45-degree angle is recommended for most individuals, but if you're injecting into a thicker fat area, a 90-degree angle may be more appropriate. Always rotate injection sites to minimize tissue damage and promote better absorption.
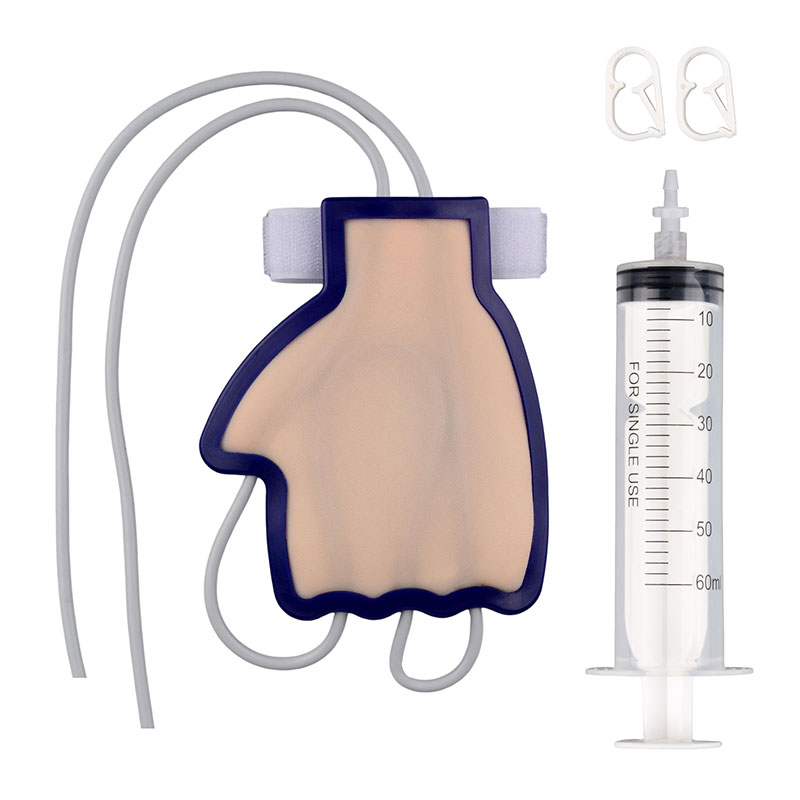
While this guide offers foundational knowledge, remember that proper techniques should always be confirmed with a healthcare professional. Practice makes perfect, and using training models can greatly enhance your proficiency.
To further develop your skills, consider using the Wearable Belly Injection Simulator or Advanced Injection Belly from Ultrassist, which provides a realistic practice experience.


.jpg?w=1600&h=1600)
.jpg?w=1600&h=1600)

.jpeg?w=1500&h=1500)
.jpg?w=1500&h=1500)
.jpg?w=1500&h=1500)
.jpg?w=1600&h=1600)
.jpg?w=1600&h=1600)


.jpeg?w=800&h=800)
.jpeg?w=1500&h=1500)
.jpg?w=1600&h=1600)
.jpg?w=1600&h=1600)
.jpeg?w=1500&h=1500)
.jpeg?w=1500&h=1500)


.jpeg?w=1600&h=1600)
.jpeg?w=1600&h=1600)