
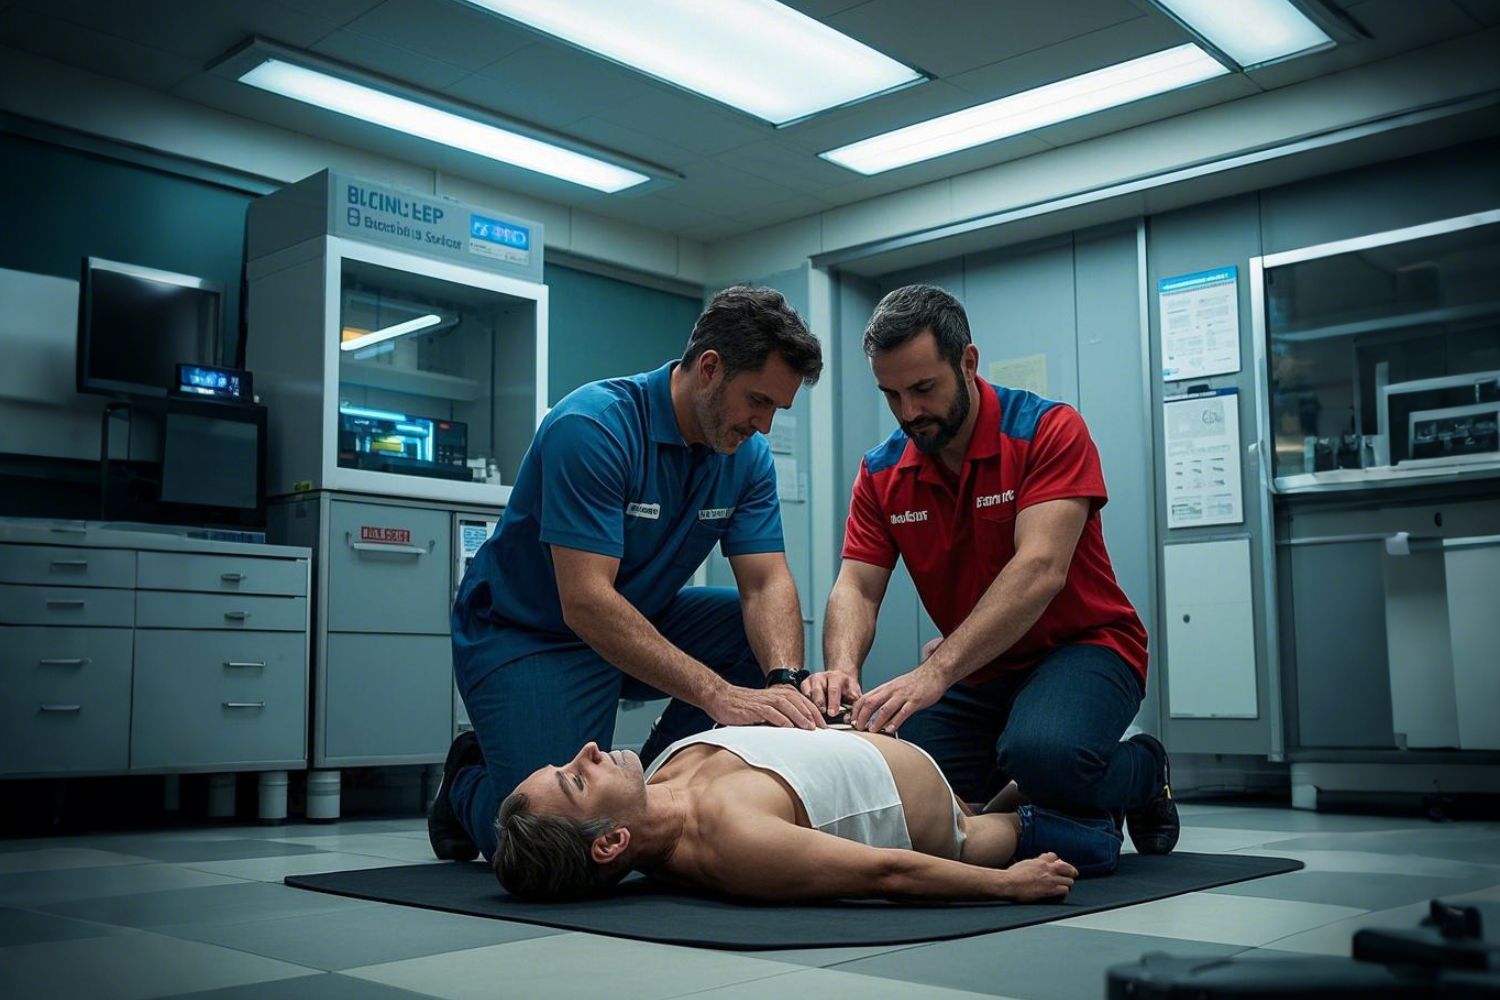
Orotracheal intubation is a life-saving procedure used to secure a patient's airway, typically during anesthesia, resuscitation, or critical care situations. The most common way to perform it is with the aid of laryngoscopy, a technique that allows healthcare providers to visualize the vocal cords and guide an endotracheal tube into the trachea.
Whether you're a medical student, nurse, paramedic, or emergency physician, mastering laryngoscopy is essential, and practice with realistic simulation models is key.
What Is Laryngoscopy?
Laryngoscopy is a procedure to visualize the larynx (voice box), particularly the vocal cords, which is essential for accurate and safe intubation. There are two main types:
🔹 Direct Laryngoscopy
- Macintosh blade (curved): Inserted into the vallecula to lift the epiglottis.
- Miller blade (straight): Inserted directly under the epiglottis for exposure.
🔹 Video Laryngoscopy
- Uses a built-in camera and screen to enhance visualization, especially helpful for difficult airways or learners in training.
Step-by-Step Guide to Orotracheal Intubation
1. Patient Positioning
- Place the patient in the "sniffing position": head extended, neck slightly flexed.
- For neonates or infants, use a small shoulder roll to align the airway axis.
2. Laryngoscope Handling
- Hold the laryngoscope with your left hand (if you're right-handed).
- Insert the blade from the right side of the mouth, sweeping the tongue to the left.
- Avoid using the teeth or applying downward force on soft tissues.
3. Expose the Vocal Cords
- Macintosh blade: Place in the vallecula and lift upward and forward.
- Miller blade: Advance under the epiglottis to lift it directly.
4. Insert the Endotracheal Tube
- Pass the tube through the vocal cords into the trachea.
- Watch the tube advance and confirm correct placement with:
- Bilateral chest rise
- Auscultation of breath sounds
- Capnography or CO₂ detection
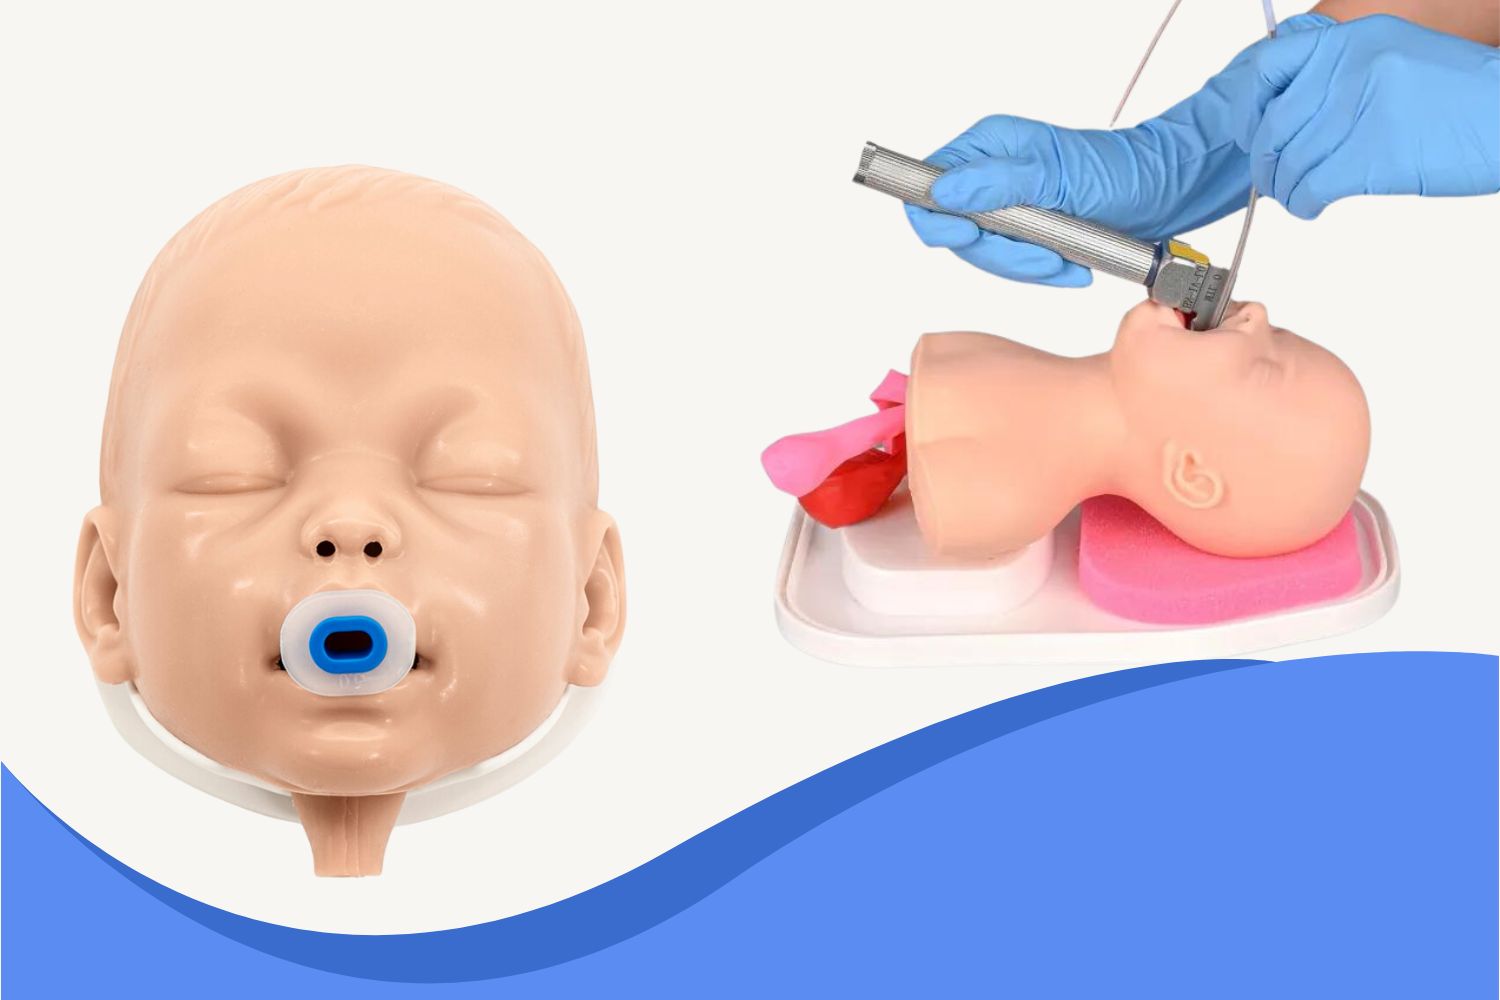
Practice Safely: Use a Pediatric Intubation Trainer
To master this delicate skill, especially on pediatric patients, it's critical to practice on a realistic airway simulator.
🔸 Ultrassist Pediatric Intubation Trainer
🔸 Ultrassist Infant Intubation Trainer
This model is designed for ET and nasal intubation practice in neonates and infants.
Key Features:
- Anatomically accurate neonatal airway
- Supports Miller and Macintosh laryngoscope use
- Visual feedback via inflatable lung balloons
- Durable for repeated training sessions
🛒 Also explore the Airway Management Trainers on Ultrassist.com.
Why Hands-On Practice Matters
Intubation success depends on skill, confidence, and familiarity with anatomy and tools. Practicing with a manikin model allows you to:
- Avoid complications (esophageal placement, trauma, hypoxia)
- Train in multiple scenarios, including difficult airways
- Build speed, coordination, and decision-making under pressure
Always Prioritize Patient Safety
If you’re not a licensed medical provider, do not attempt intubation without supervision and formal training. Simulation practice is the safest way to build competence before clinical exposure.

.jpeg?w=1000&h=1000)
.jpg?w=1500&h=1500)
.jpg?w=1500&h=1500)

.jpeg?w=1500&h=1500)
.jpeg?w=1600&h=1600)
.jpeg?w=1600&h=1600)
.jpeg?w=1000&h=1000)
.jpeg?w=1000&h=1000)
.jpeg?w=1000&h=1000)
.jpeg?w=1000&h=1000)
.jpg?w=1600&h=1600)
.jpg?w=1600&h=1600)
.jpeg?w=1000&h=1000)

