
Oropharyngeal (OPA) and Nasopharyngeal Airways (NPA) are fundamental tools in emergency and clinical airway management. Whether you're in prehospital care, a hospital setting, or clinical training, knowing how to properly measure and insert these airway adjuncts is essential to avoid complications and restore effective breathing.
In this guide, we'll explain the differences between OPA and NPA, how to measure each one correctly, and when to use them, plus how to train hands-on using realistic practice models.
What Are OPA and NPA?
- OPA (Oropharyngeal Airway): A rigid, curved plastic device inserted through the mouth to keep the tongue from blocking the airway.
- NPA (Nasopharyngeal Airway): A soft, flexible tube inserted through the nose, bypassing obstructions and opening the upper airway.
Both devices are airway adjuncts used when a patient is unable to maintain an open airway independently. Choosing the correct size and using proper insertion techniques can make a critical difference.
How to Measure and Use an OPA
Measurement Tip:
To size an OPA correctly, measure from the corner of the mouth to the angle of the jaw (below the earlobe). This ensures the device will sit correctly in the oropharynx without pushing the tongue further into the airway.
Insertion Steps:
- Confirm the patient is unconscious (no gag reflex).
- Open the mouth and insert the OPA upside down, then rotate 180° as it reaches the throat.
- For infants or children, use a tongue depressor and insert directly - do not rotate.
How to Measure and Use an NPA
Measurement Tip:
To measure an NPA, use the distance from the tip of the nose to the tragus of the ear. The selected tube should be slightly smaller than the nostril diameter to reduce trauma.
Insertion Steps:
- Lubricate the tube with water-based lubricant.
- Insert gently along the floor of the nasal passage, not upward, to avoid injury.
- If resistance is met, try the other nostril.
When to Use OPA vs. NPA
| OPA | NPA |
|---|---|
| Use in unconscious patients without gag reflex | Safe for conscious or semi-conscious patients |
| Cannot be used in patients with intact airway reflexes | Better tolerated, even in responsive patients |
| Easy and quick to insert | Requires lubrication and a gentler technique |
Common Risks & Benefits
- OPA Risks: Vomiting or laryngospasm if used in conscious patients; oral trauma
- NPA Risks: Nasal bleeding, misplacement into the esophagus, caution in facial trauma
- OPA Benefits: Simple, quick to apply, effective in unresponsive patients
- NPA Benefits: Well-tolerated, usable in multiple patient states, fewer gag reflex issues
Practice Makes Perfect: Simulation Models for OPA and NPA Training
To confidently master OPA and NPA placement, hands-on practice is crucial. Ultrassist offers realistic airway training manikins for both infant and adult use, making it easier for healthcare providers to practice safe, effective sizing and insertion.
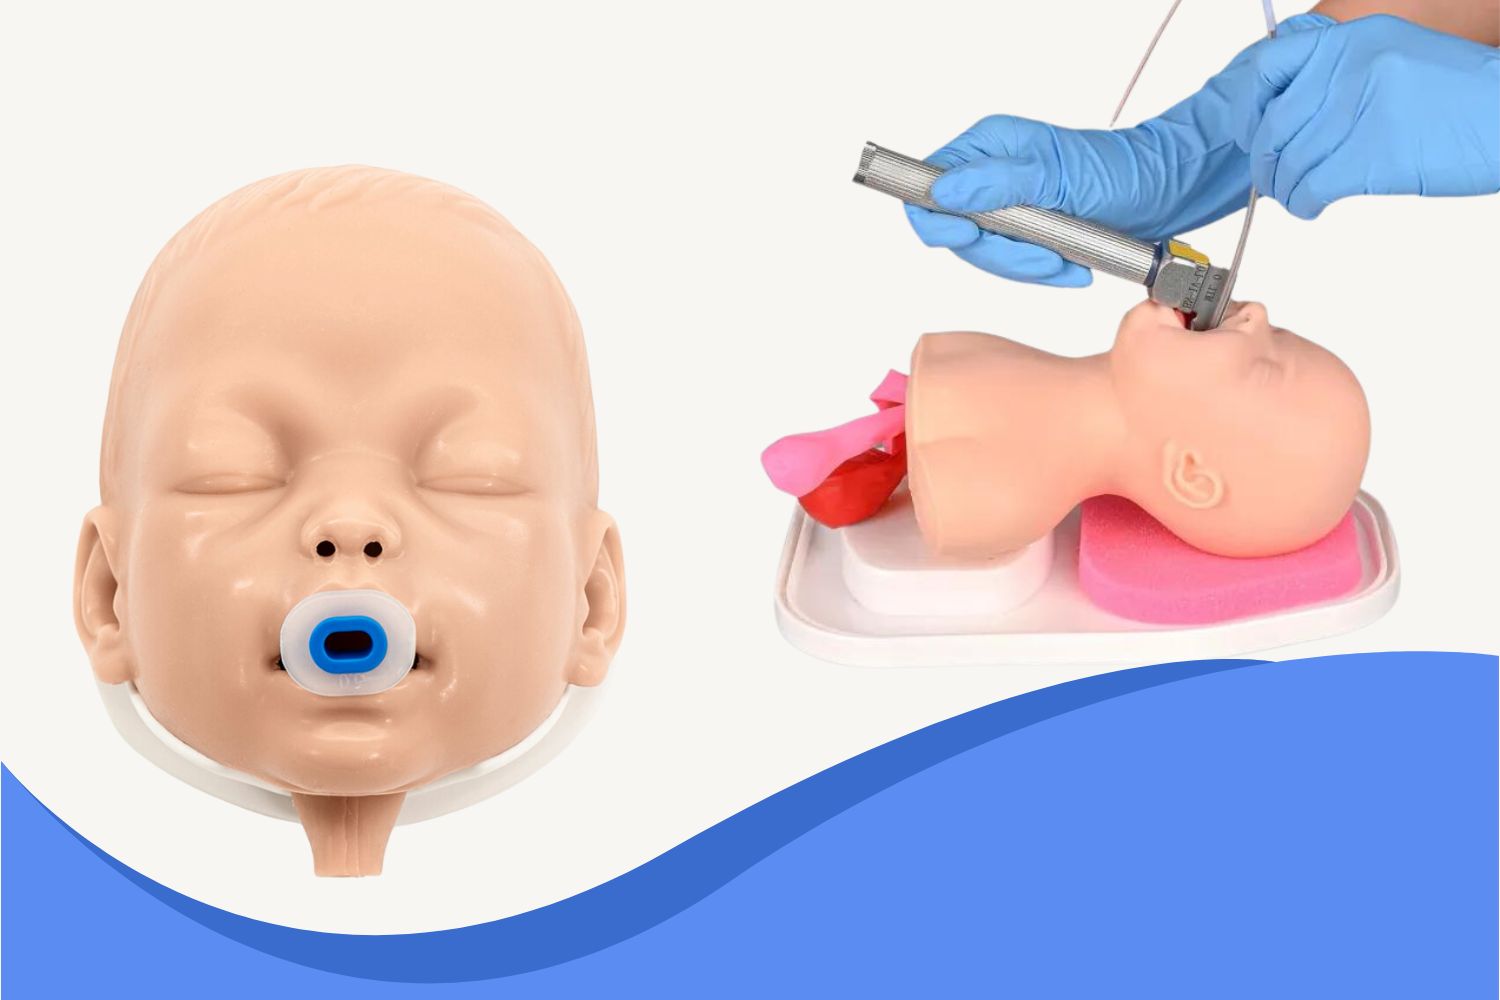
🔹 Ultrassist Infant Airway Management Trainer
Designed for pediatric airway training, this model allows learners to practice correct measurement, insertion angles, and tube selection in a lifelike infant head. Ideal for EMTs, nurses, and pediatric professionals.
🔹 Ultrassist Adult Airway Management Trainer
A cost-effective yet realistic adult airway head model for basic life support training. Perfect for practicing both OPA and NPA techniques during CPR and airway management drills.
.jpg?w=1600&h=1600)
👉 Explore all Airway Management Trainers for more high-quality simulation models.
Mastering OPA and NPA use is a foundational skill in airway management. Proper measurement, sizing, and insertion techniques can dramatically improve patient outcomes and reduce risks. But more importantly, these skills must be practiced regularly using realistic simulation tools.

Whether you're training a new class of EMTs or sharpening your clinical skills, Ultrassist airway trainers help bridge the gap between theory and confident, real-world application.

.jpeg?w=1000&h=1000)
.jpg?w=1500&h=1500)
.jpg?w=1500&h=1500)

.jpeg?w=1500&h=1500)
.jpeg?w=1600&h=1600)
.jpeg?w=1600&h=1600)
.jpeg?w=1000&h=1000)
.jpeg?w=1000&h=1000)
.jpeg?w=1000&h=1000)
.jpeg?w=1000&h=1000)
.jpg?w=1600&h=1600)
.jpg?w=1600&h=1600)
.jpeg?w=1000&h=1000)

